[ad_1]
This post may contain affiliate links. For more information, please see our disclosure policy.
This easy tutorial will teach you how to replace your Cricut pen holder. Keep your machine running smoothly and your projects looking flawless.

If your Cricut pen holder isn’t working as well as it used to, don’t worry—you didn’t break your machine.
Over time, wear and tear (or an accidental tug) can make the pen holder loose or break.
The good news is replacing it is easier than you might think!
Let’s fix it up and get that machine running like new again!
Jump to:
Broken Pen Holder
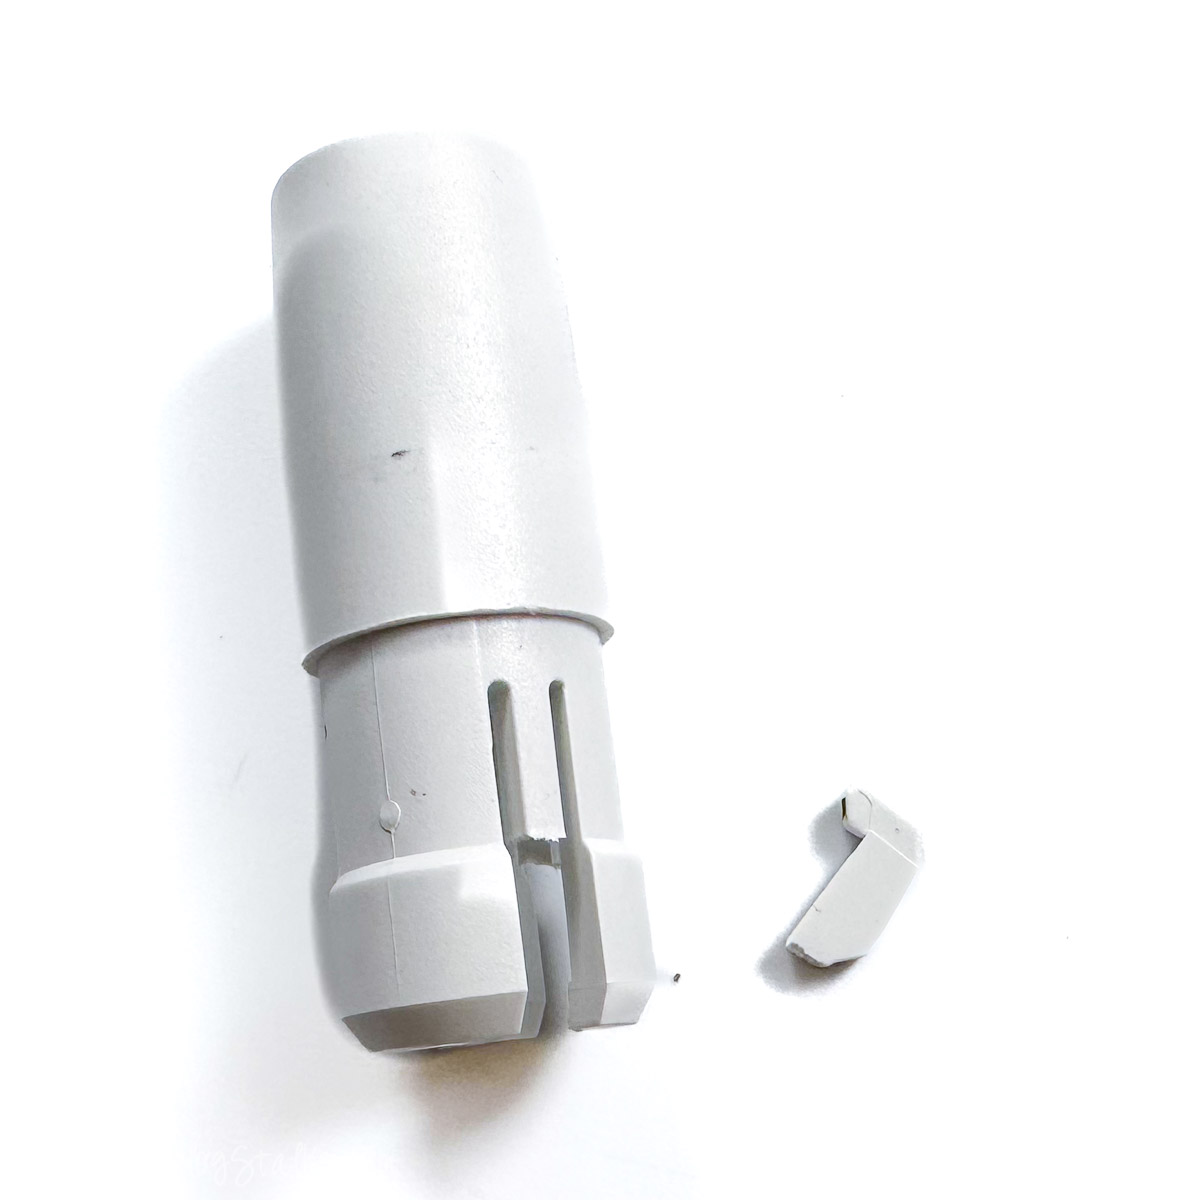
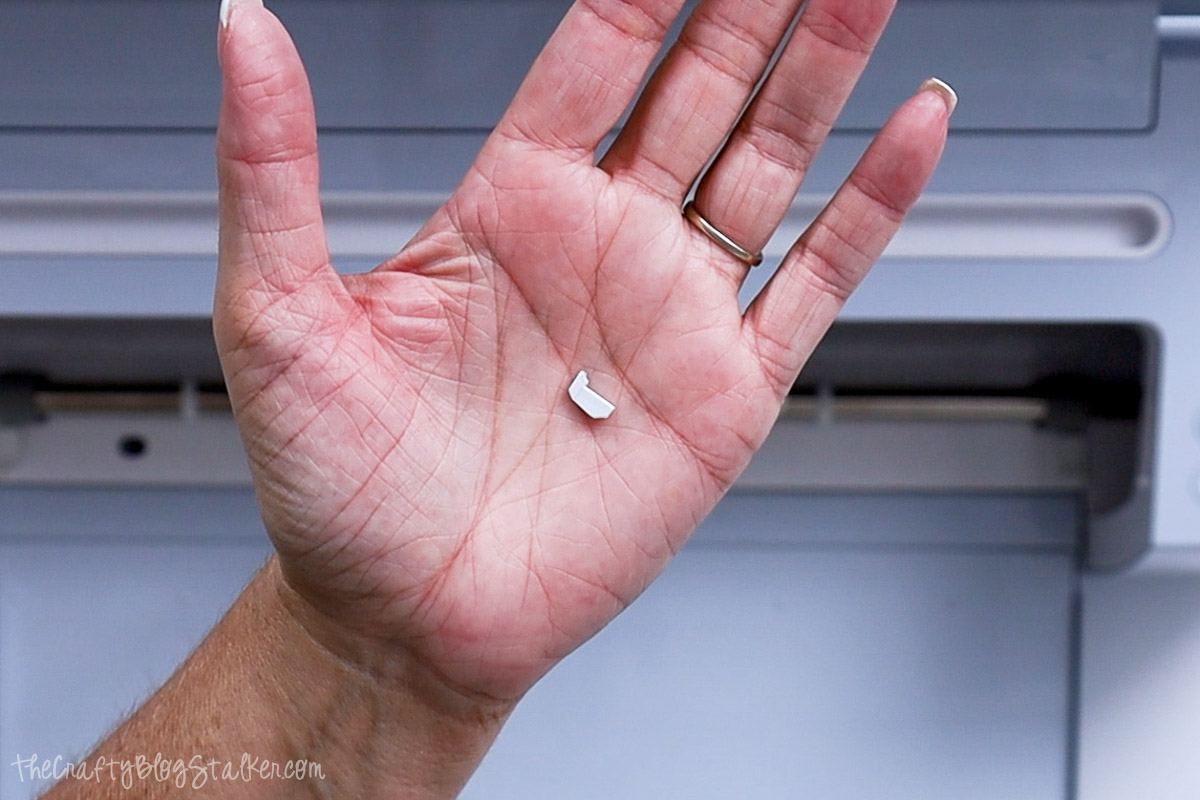
Recently, I was crafting with my Cricut Maker, and this little plastic piece broke off and fell onto the floor of my machine.
Then I noticed that my marker wasn’t held securely in clamp A. Did I break my machine?
After some panic and quick googling, I realized the pen holder had broken, but there was an easy fix!
Replacement Piece
There are a couple of places to purchase the replacement pen holder.
You can purchase the Cricut Accessory Adapter Replacement from Cricut.com for $1.99.
This is a great price, but you must pay shipping unless your order exceeds $50.
I purchased the Cricut Accessory Adapter Replacement from Amazon.com. It costs $10, but I received free shipping because I have Amazon Prime.
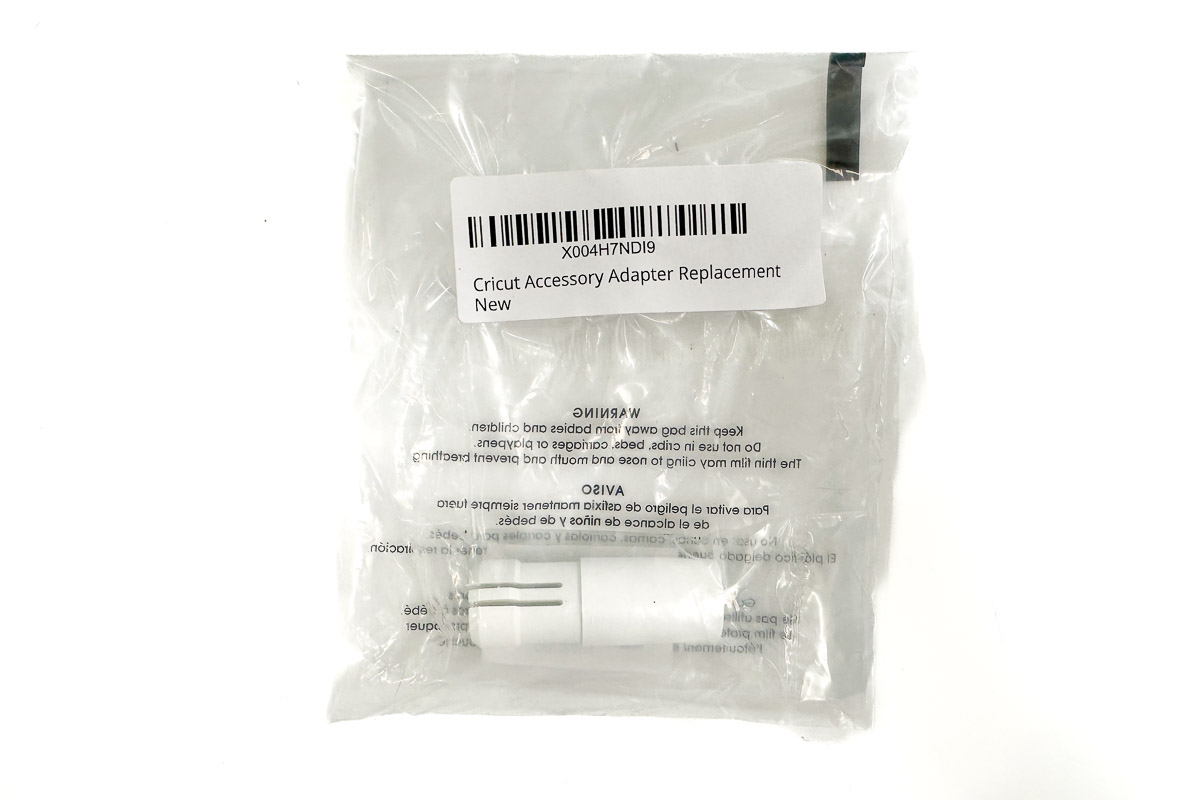
This piece works for both the Cricut Maker and Cricut Explore machines, and the replacement instructions are also the same.
How to Replace
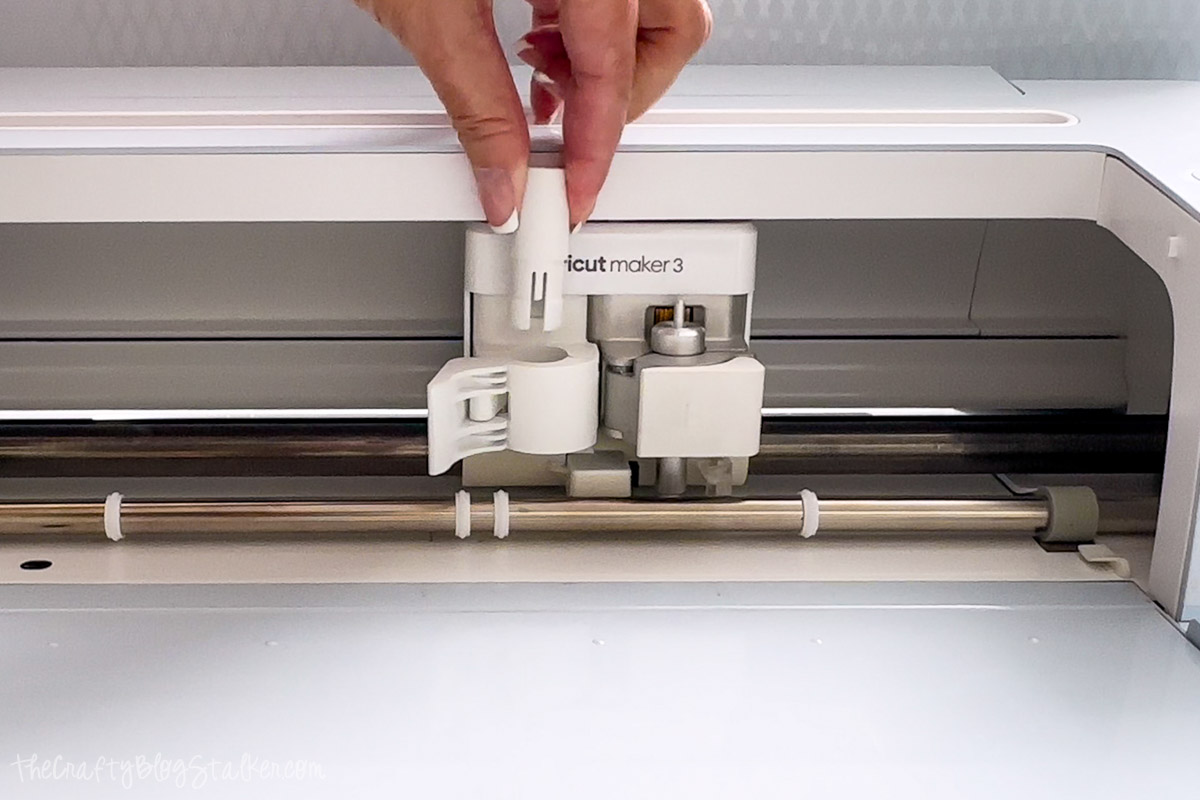
Open your Cricut cutting machine, move the housing to the machine’s center, and open Clamp A.
To remove the pen holder from the clamp, push up on it. It is tight, so you will need to push hard.
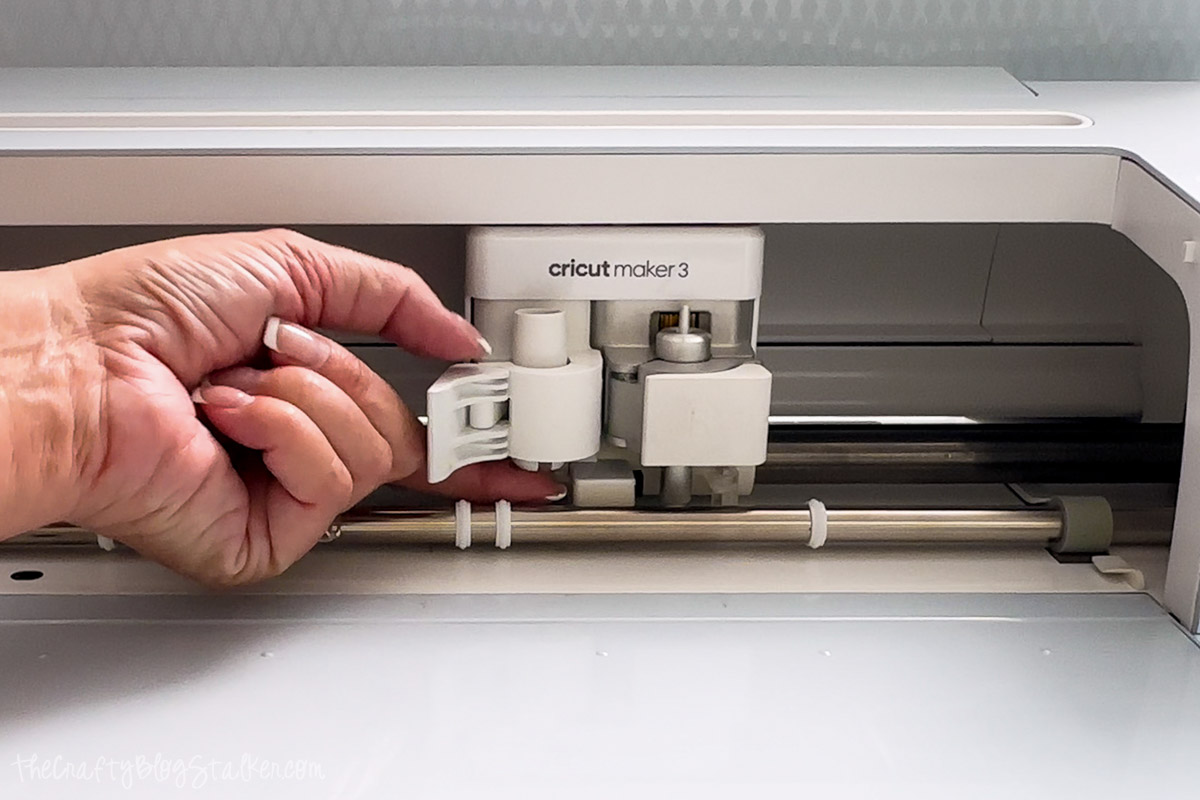
Once you have pushed it free, lift the piece out of the clamp.
More Cricut Ideas
Now that you can use Clamp A again, you can create so many fun things!
Here are a few fun ideas.
[ad_2]
Source link
