This post may contain affiliate links. For more information, please see our disclosure policy.
Want to stand out? Learn how to make a wood bow tie with this step-by-step guide. A fun, classy, and totally unique accessory you can craft yourself!
Forget the fabric—wood bow ties are the perfect blend of classy and creative!
Whether you’re dressing up for a special occasion or want to add a unique touch to your look, making your wooden bow tie is easier than you think.
With a few simple materials and a little patience, you can craft a stylish accessory that will turn heads.
Grab your tools, and let’s get started!
Jump to:
🛠️ Skill Level: Intermediate
Supply List
Some links may be to similar items when exact items couldn’t be found online.

Wood Shape
Print the Bow Tie Template, and cut out a shape.
Trace the Bow Tie onto a piece of wood.

I used a ¾” piece of wood. You can use thinner wood or rip a board in half.
I used a wood that wouldn’t need to be stained or sealed. I don’t know if it will transfer to clothing, but I didn’t want to risk it.
Tip: Using high-quality wood eliminates the need for staining and sealing!
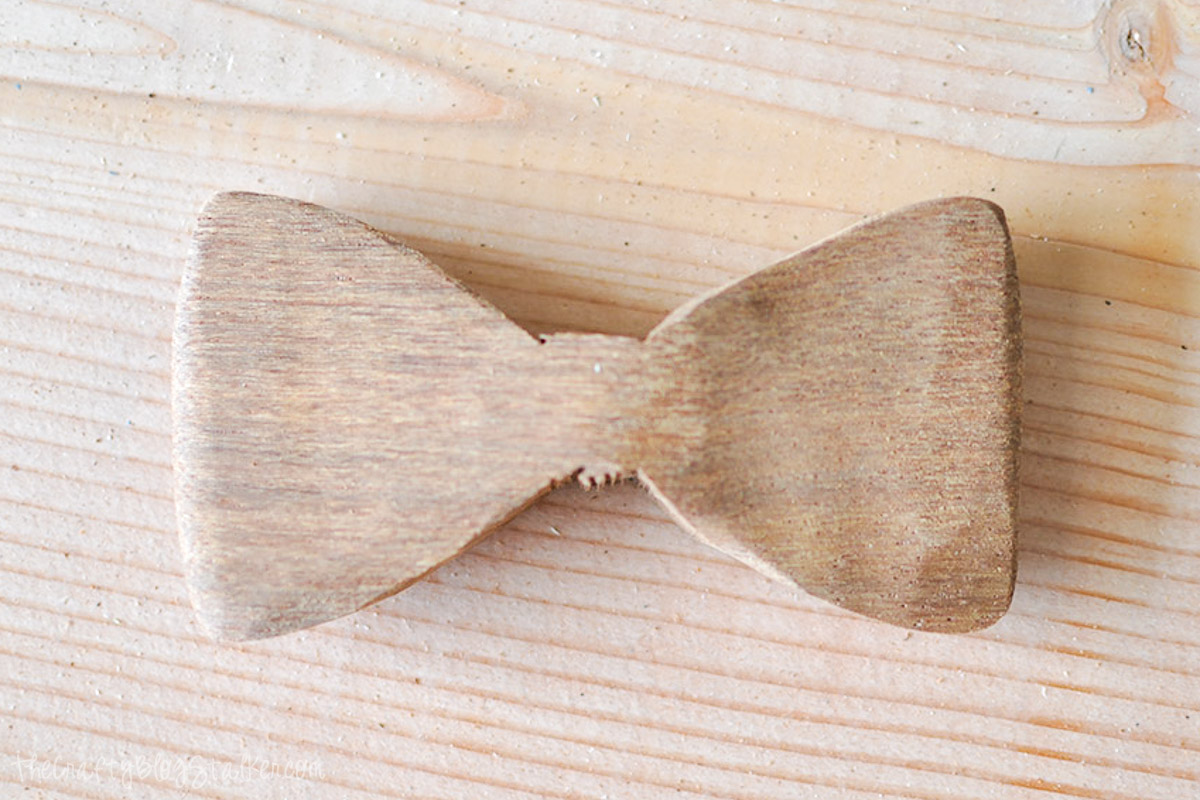
Use a band saw to cut the bow shape, following the lines you traced.
Don’t worry too much about the bow knot, as this will be covered with fabric.

Then use a belt sander to sand the wood down.
This is somewhat of an art form and will require some practice.
Imagine that it is like pottery you are shaping.
I wanted it thicker in the middle and thinner on the outside. I sanded it until I was happy with the shape.

Continue sanding the other side of the bow, matching it to the other side as best as possible.
Fastener
After measuring your neck size, cut a piece of ribbon.
Considering the shirt collar, leave it long enough to overlap on the ends a few inches.
Then cut the Velcro strip long enough to make the ribbon adjustable, and use the hot glue gun to attach the Velcro to the ribbon.

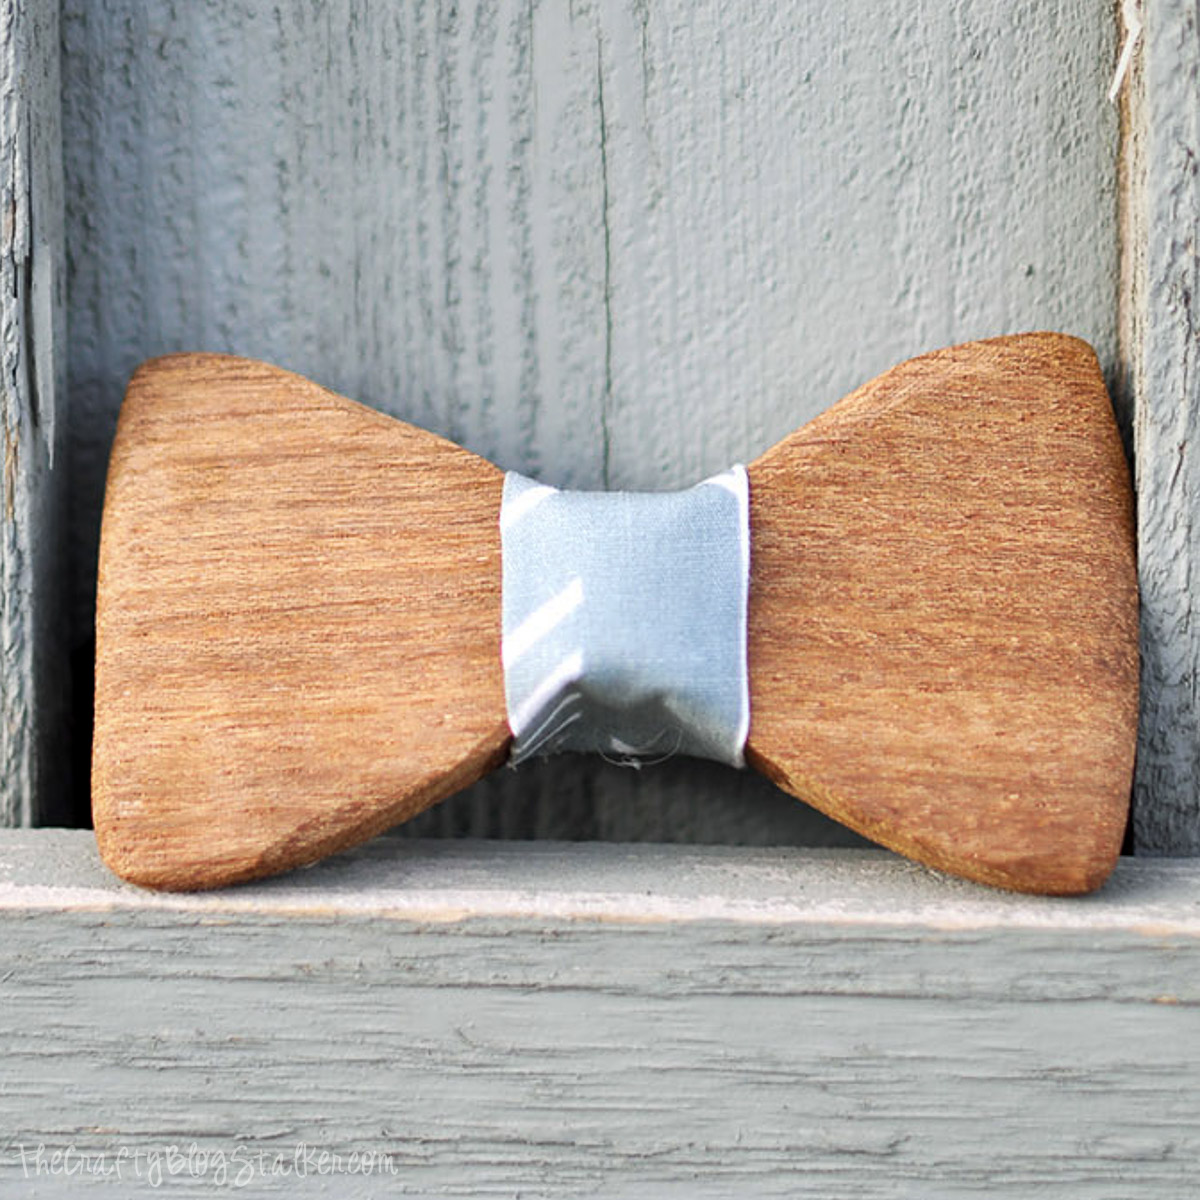
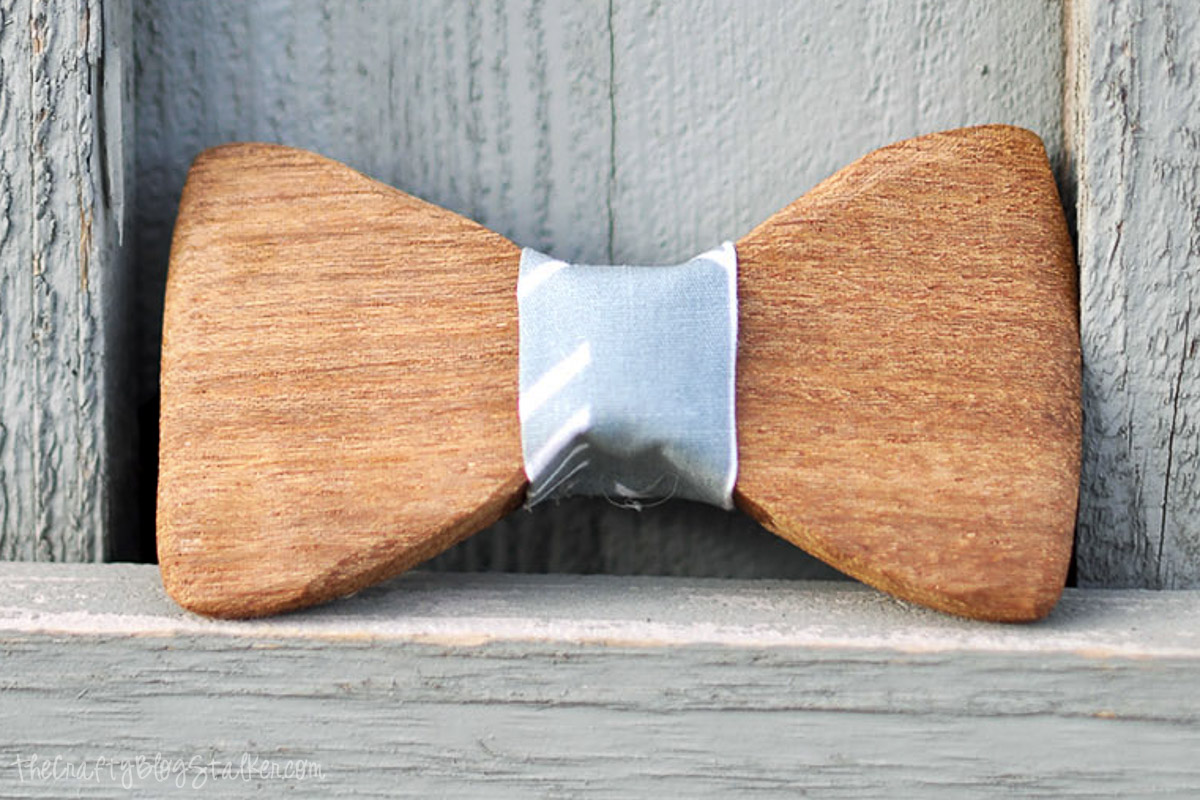
Glue the ribbon to the back of the wooden bow tie.

Iron a small strip of fabric in half, hiding the two raw edges in the back.
Wrap this around the middle of the bow tie and hot glue in place.

Final Thoughts
This wood bow tie turned out so cute!
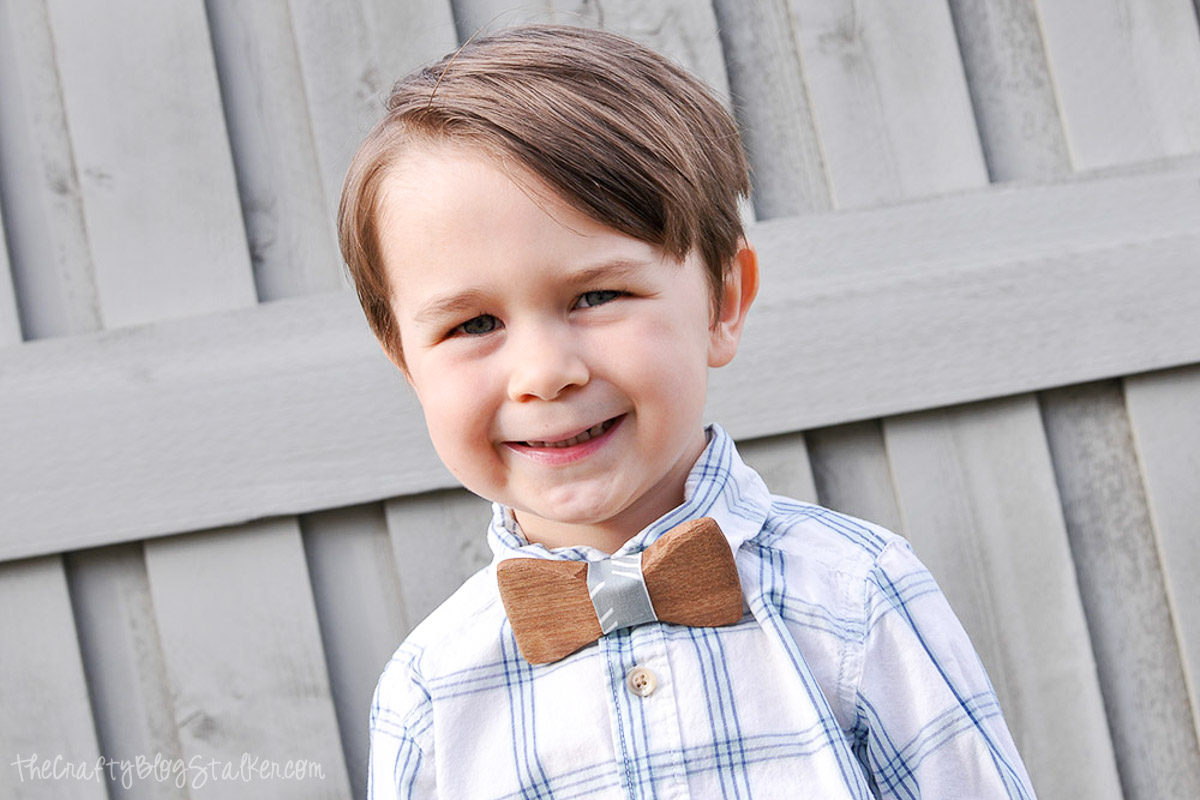
It is heavier than a regular bow tie because it is made of wood and not fabric, but I think it is super stylish!
I would not recommend a child wearing this all day, as it is wood tied around their neck, but a responsible adult definitely could!
More Woodworking Tutorials


