This post may contain affiliate links. For more information, please see our disclosure policy.
Custom jewelry deserves a custom jewelry card. A simple DIY craft tutorial idea. A necklace card is great when selling jewelry or giving it away as a gift.
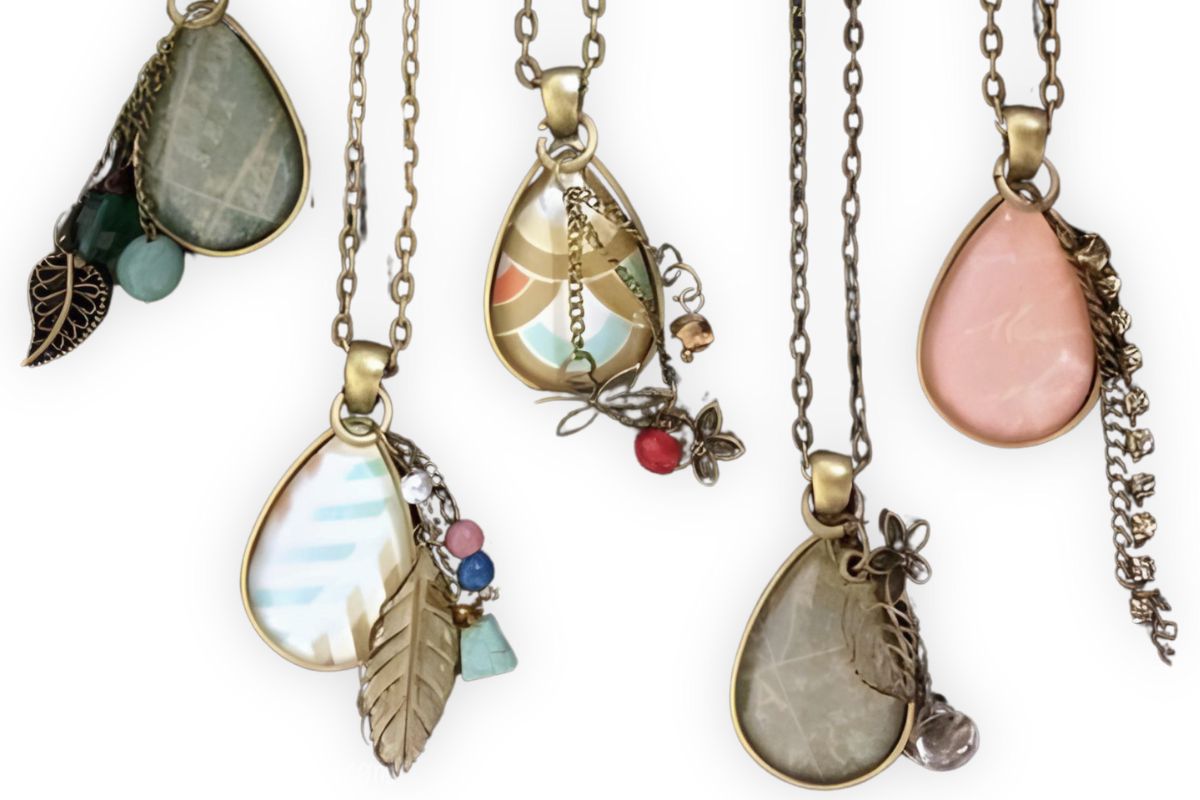
Last week, I shared a tutorial for DIY Jewelry Pendant Necklaces. They turned out beautifully, and I am very proud of them.
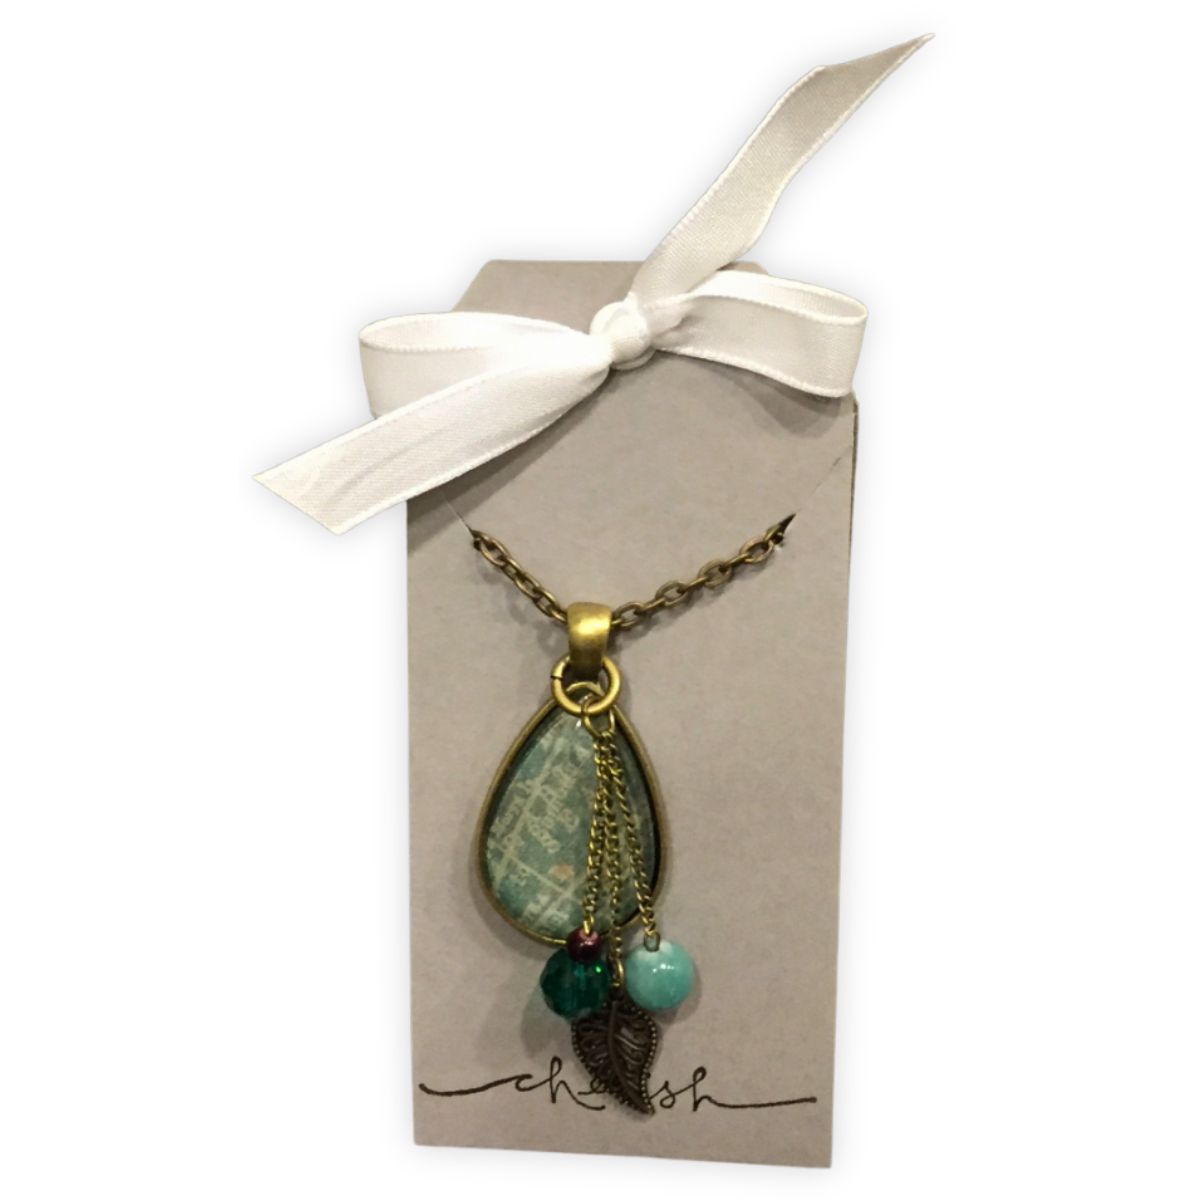
Since these were made as gifts for some blogger friends, I knew I needed to add that extra detail and create a necklace card for them.
The necklace card is simple but shows you went the extra mile to make the gift look more unique.
Jump to:
Supply List
Some links may be to similar items when exact items couldn’t be found online.
Instructions
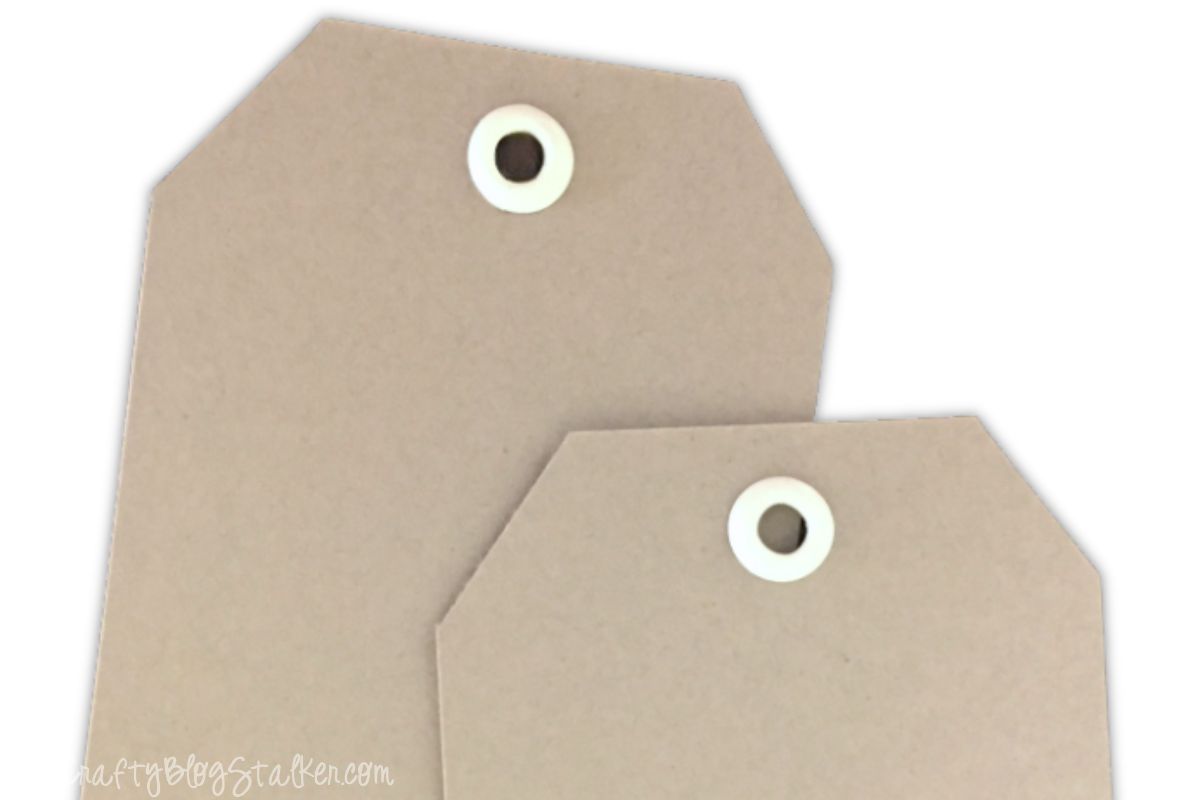
Begin by cutting a strip of gray cardstock to 2 x 8 ½ inches.
Use the Craft Tag Punch and punch both ends of the strip.
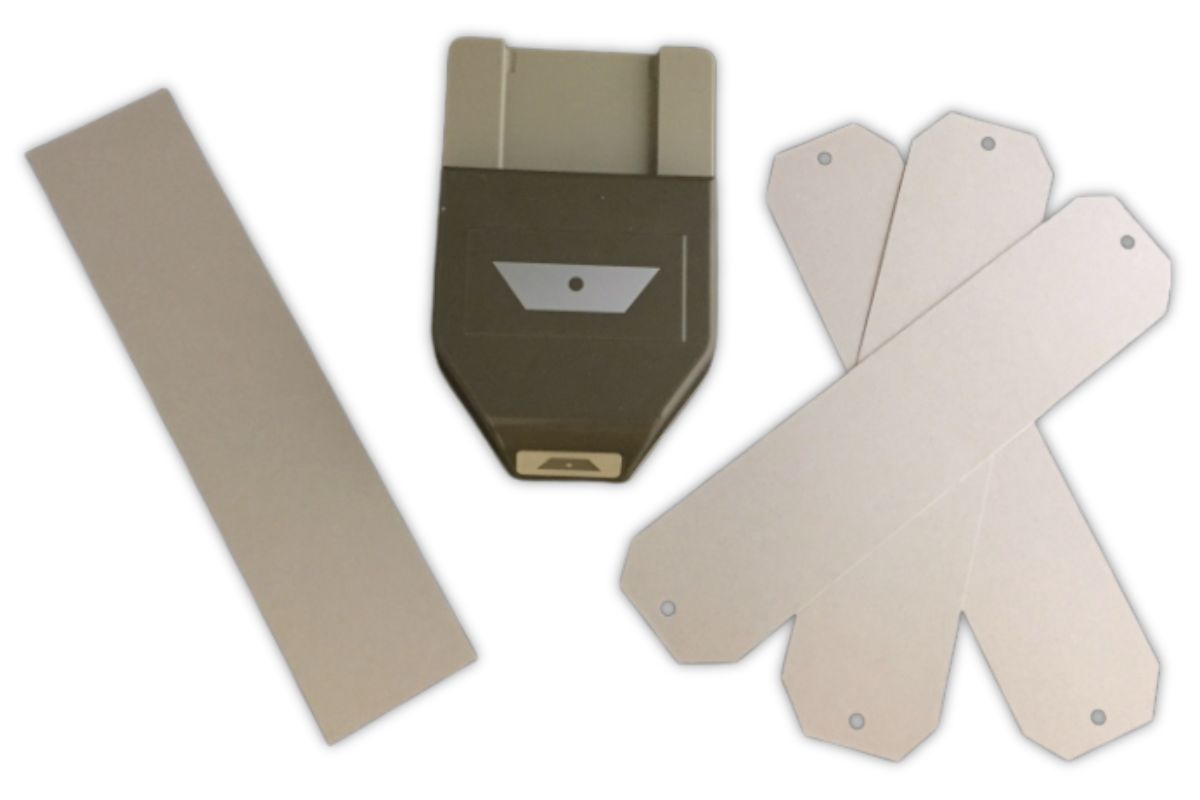
Add white eyelets to the hole on both ends of the strip.
It has been forever since I used eyelets, and I forgot how fun they are and the finished look they provide.
Fold the strip in half.
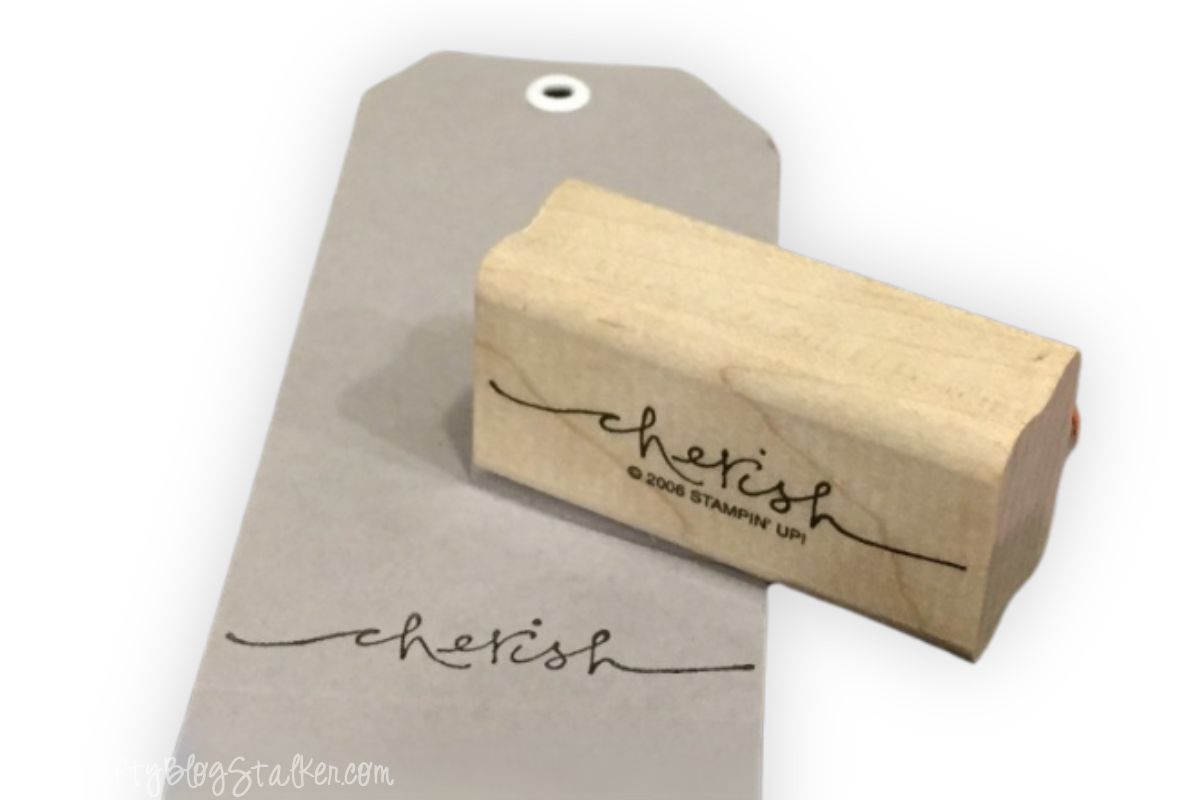
Stamp the sentiment on the bottom front of the card.
This is an optional step, but I love that attention to detail.
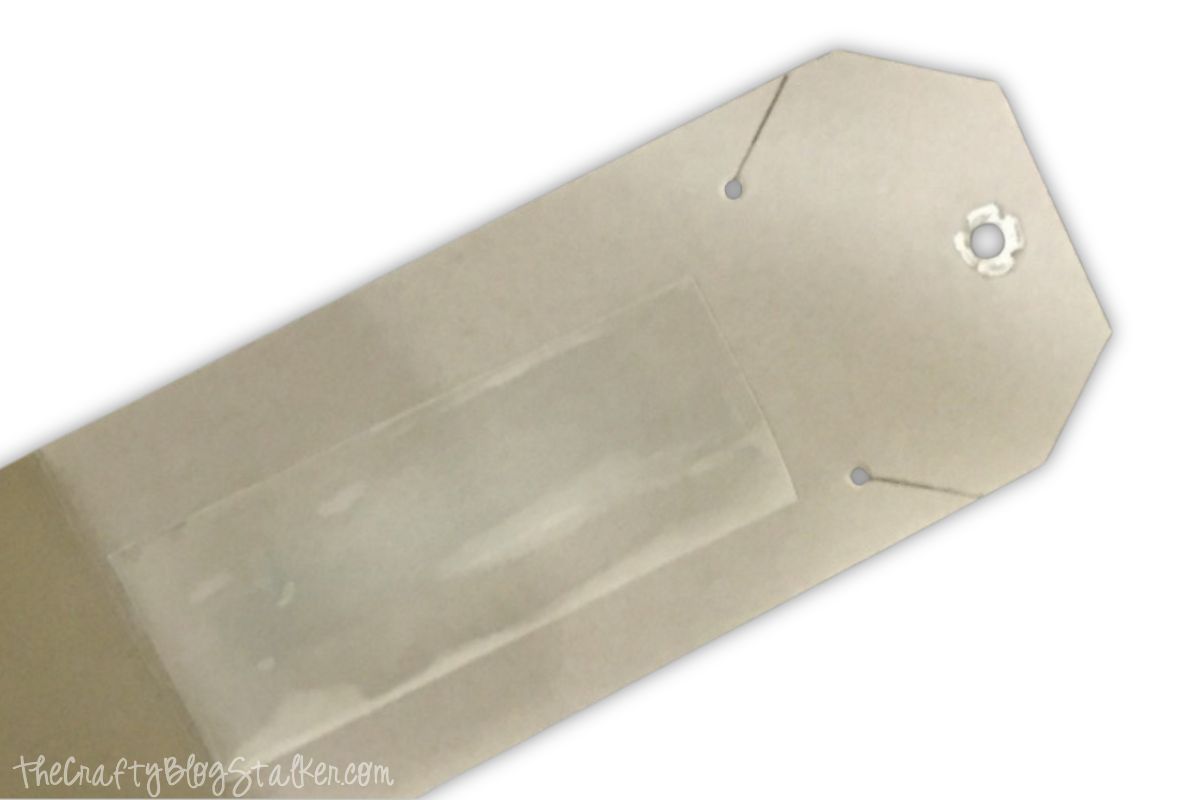
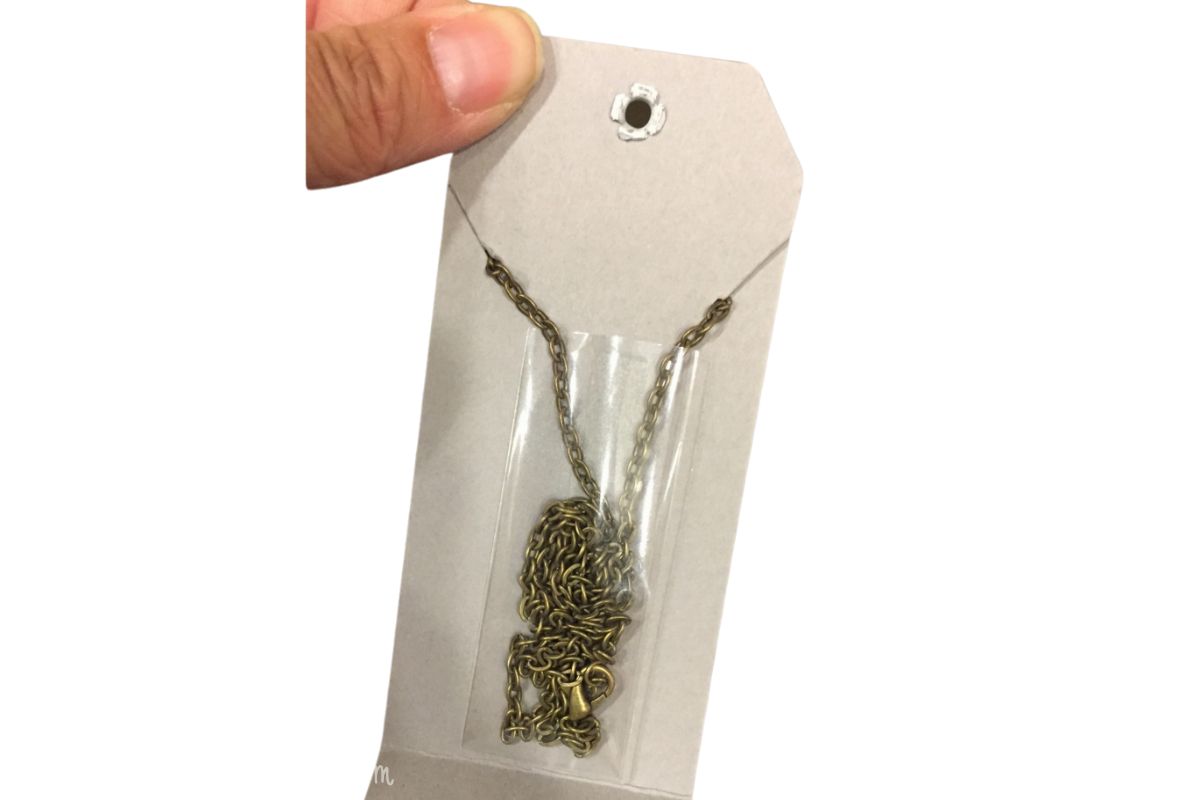
For the inside of the card, I needed something to hold the chain and prevent it from getting tangled.
I had some thin cellophane bags for stacking treats like M&Ms or Skittles and thought these would work perfectly!
I cut the bag to about 2 inches long and glued it to the inside of the necklace card.
You can see how well it holds the chain.
Tie a piece of white ribbon around the card’s front and back. This beautiful gift is now ready to be given.
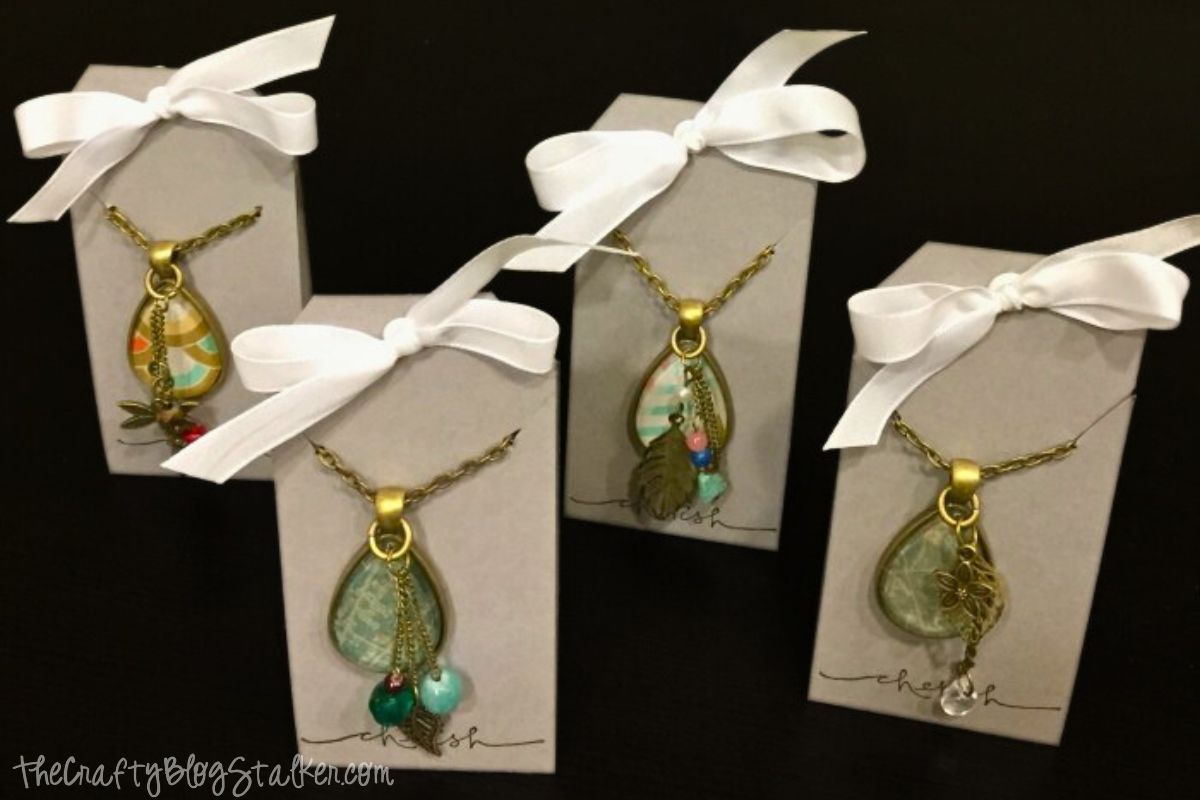
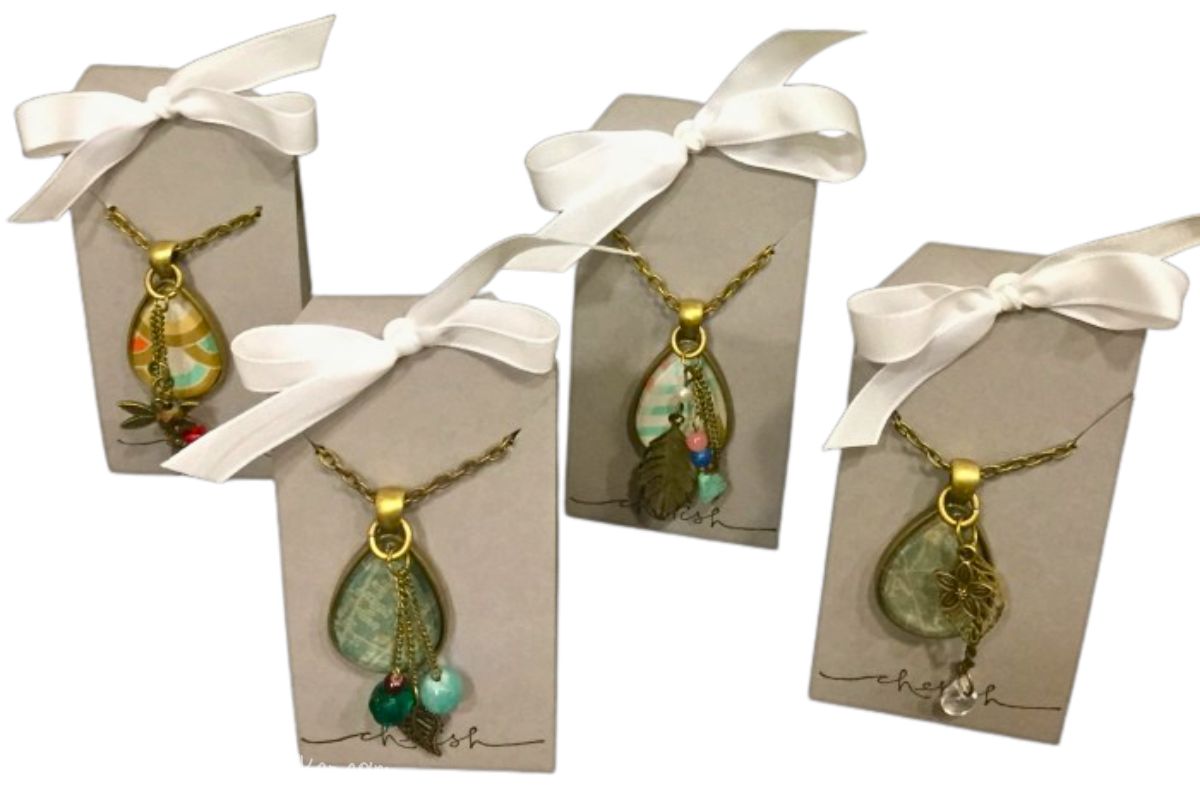
These jewelry cards would work for many types of necklaces, whether DIY jewelry or store-bought.
More DIY Necklace Ideas
Now that we’ve made necklace display cards, we should make some necklaces!
Here are a few fun ideas.


