This post may contain affiliate links. For more information, please see our disclosure policy.
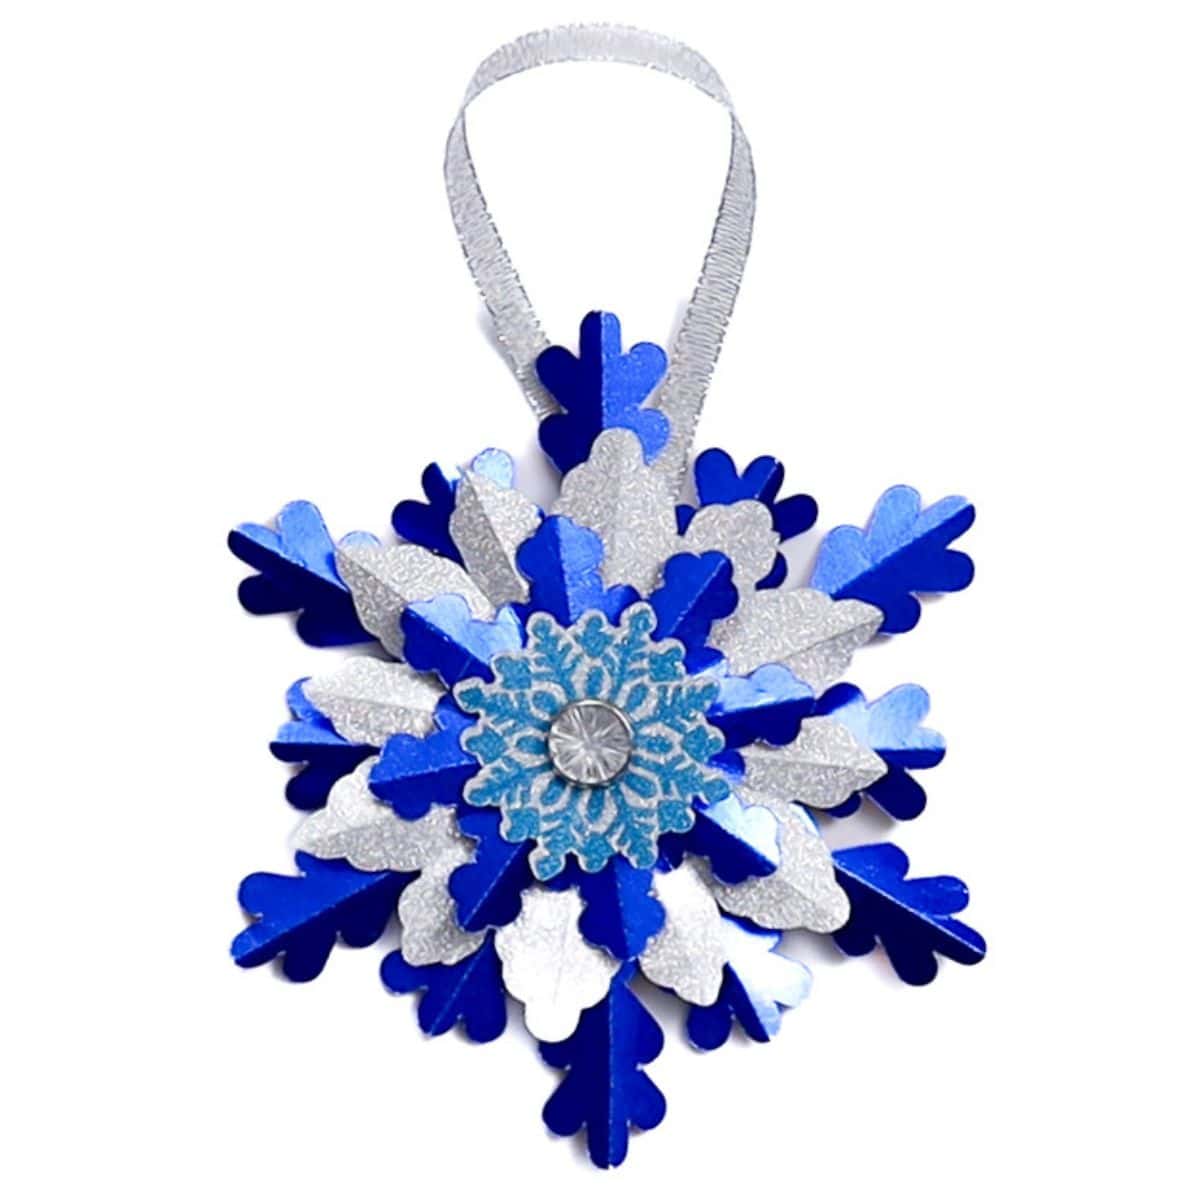
Create gorgeous paper snowflake ornaments in minutes! Download the free SVG, craft your heart out, and make this season sparkle like never before.

Nothing says winter wonderland like snowflakes, and these DIY paper snowflake ornaments will bring that magic to your home!
We have a family tradition during the holiday season to participate in a Handmade Ornament Exchange, and these snowflake ornaments will be my contribution.
Create beautiful, intricate snowflake ornaments with a free SVG file and these easy-to-follow steps. Perfect for your tree or as heartfelt holiday gifts.
Let me show you how to make this year’s favorite ornament!
Jump to:

Craft Video Tutorial
Do you like videos? I have a video tutorial for you! Subscribe to my YouTube Channel so you don’t miss any future videos.
Supply List
Some supplies were provided at no cost. If the exact supplies are unavailable, links may lead to similar products.

Grab the Free SVG
This digital media is for personal use only. You do not have permission to redistribute.

Cricut Design Space
For the following steps, I’ll be using Cricut Design Space.
If you use Silhouette Studio or a different design software, your steps may be different than mine.
To start, upload the SVG into Cricut Design Space and add it to your Canvas.

The file creates a 5-inch ornament but can be resized for more sizes.
Before cutting the file, I need to make a few changes.
When designing outside of Cricut Design Space, there is no way to identify lines as cut, score, or draw. So, these assignments need to be made once the design is brought in.
Highlight the entire design and Ungroup.

The lines inside each snowflake must be changed to score lines instead of cut lines.
In the layers panel, highlight the lines of a snowflake and change their operation to score. When the line is a score line, it will change to a dashed line.

Highlight the lines and snowflakes that go together and attach.
Change the lines to draw for the smallest snowflake, then attach the two layers together.

I want my snowflake cut out of two different colors of paper. The easiest way to differentiate that in CDS is to change the color of two of the snowflakes.
If the different snowflakes were numbered, they would start with one being the smallest and 4 being the largest.
Highlight snowflake one and snowflake three and change the material color.

The design is now ready to be cut. Click Make and choose your material.
I increase the pressure when cutting paper, and the program will specify what tools and materials to load.

Load the mat with paper and begin the cut.

Prepare Paper Pieces
The drawing on the smallest snowflake is only the outline, so go in with the same pen and fill in the drawing.

Poke a rhinestone brad through the center of the smallest snowflake.

Assembly
The fourth snowflake is the base. Apply hot glue to the back of the third snowflake and center it over the base.

Apply hot glue to the back of the second snowflake and add to the stack.

Final Thoughts
This beautiful ornament doesn’t look as simple as it is, making it perfect for gift-giving! Plus, it looks fantastic hanging on a Christmas tree!


